
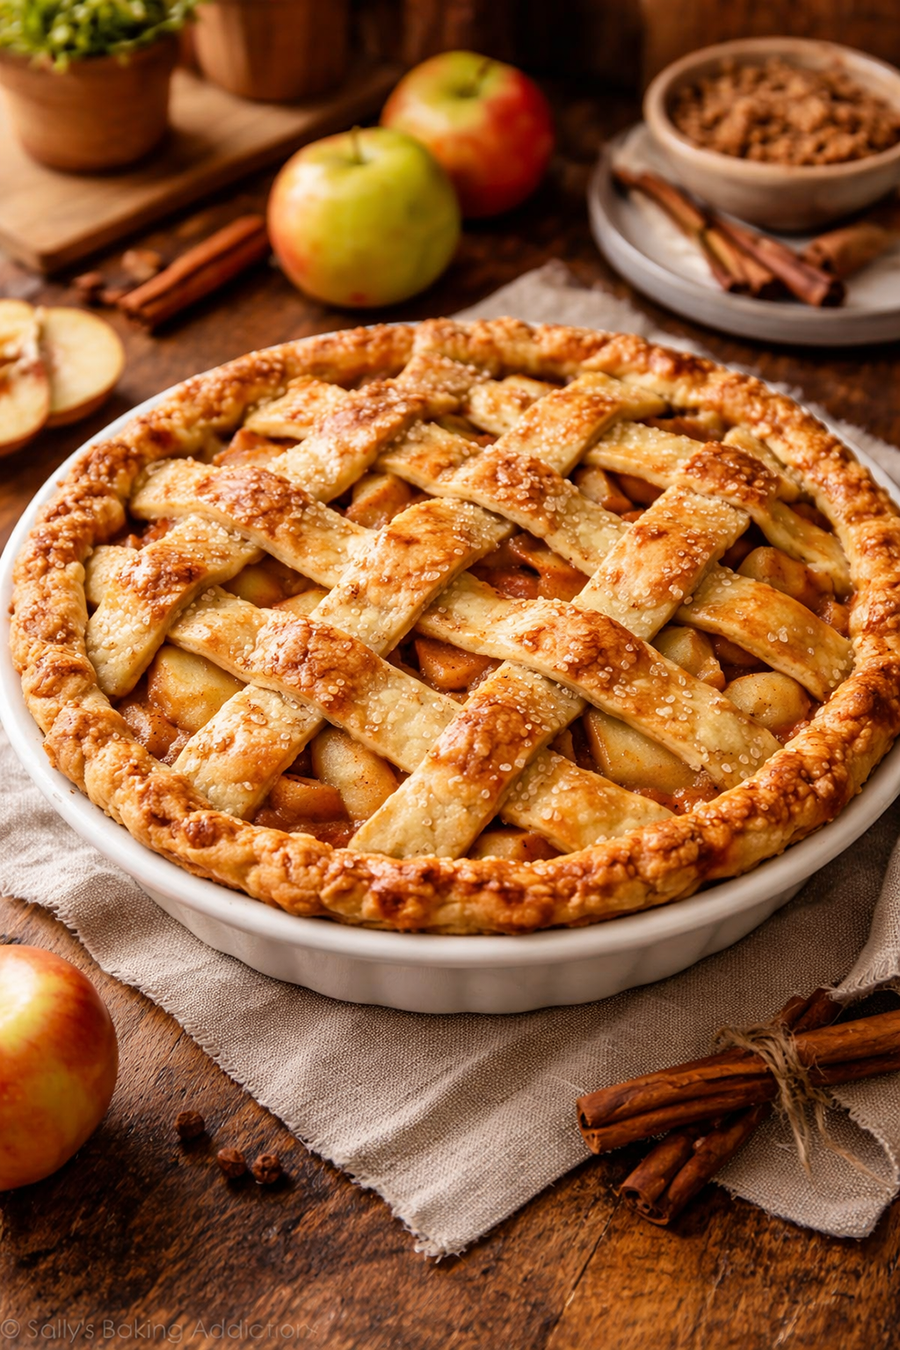
Apple Pie Filling (Canning & Freezing)With Sugar and No-Sugar Options
We don’t make a lot of pies.
But we do make a lot of cooked apples.
This is the kind of recipe that earns its place quietly. A jar opened on a cold morning. A spoonful over yogurt. Warm apples in a bowl without needing to turn it into dessert.
Most apple pie filling recipes are built around thickness—gelled, glossy, heavy. This one isn’t. This is about real apples, soft but still holding their shape, with just enough liquid to make them usable in whatever direction you want later.
And you can make it two ways: with sugar or without.
Why This Version Works
Flexible—use it for pie, or don’t
Freezer-friendly and canning-friendly
Easy to adjust sweetness later
Built for real kitchens, not just recipes
Base Ingredients
8–10 cups peeled, sliced apples (about 3–4 pounds)
1½ cups water or apple cider
2–3 tablespoons lemon juice
Optional spices:
1–2 teaspoons cinnamon
¼ teaspoon nutmeg
Pinch cloves
Pinch salt
Version 1: Classic (With Sugar)
¾–1 cup sugar (adjust based on your apples)
Combine apples, liquid, lemon juice, and spices in a large pot.
Bring to a gentle simmer and cook 5–10 minutes, until apples begin to soften.
Stir in sugar.
Simmer another 5 minutes until slightly thickened but still loose.
You’re not looking for pie filling texture yet. That comes later, if you want it.
Version 2: No-Sugar (Clean and Flexible)
Optional natural sweeteners (choose one or skip):
½–1 cup apple juice concentrate
OR 2–4 tablespoons honey or maple syrup
Combine apples, liquid, lemon juice, and spices.
Simmer 5–10 minutes until just softened.
Add optional sweetener if using.
Cook another 5 minutes.
This version is intentionally not thick. It gives you more control later.
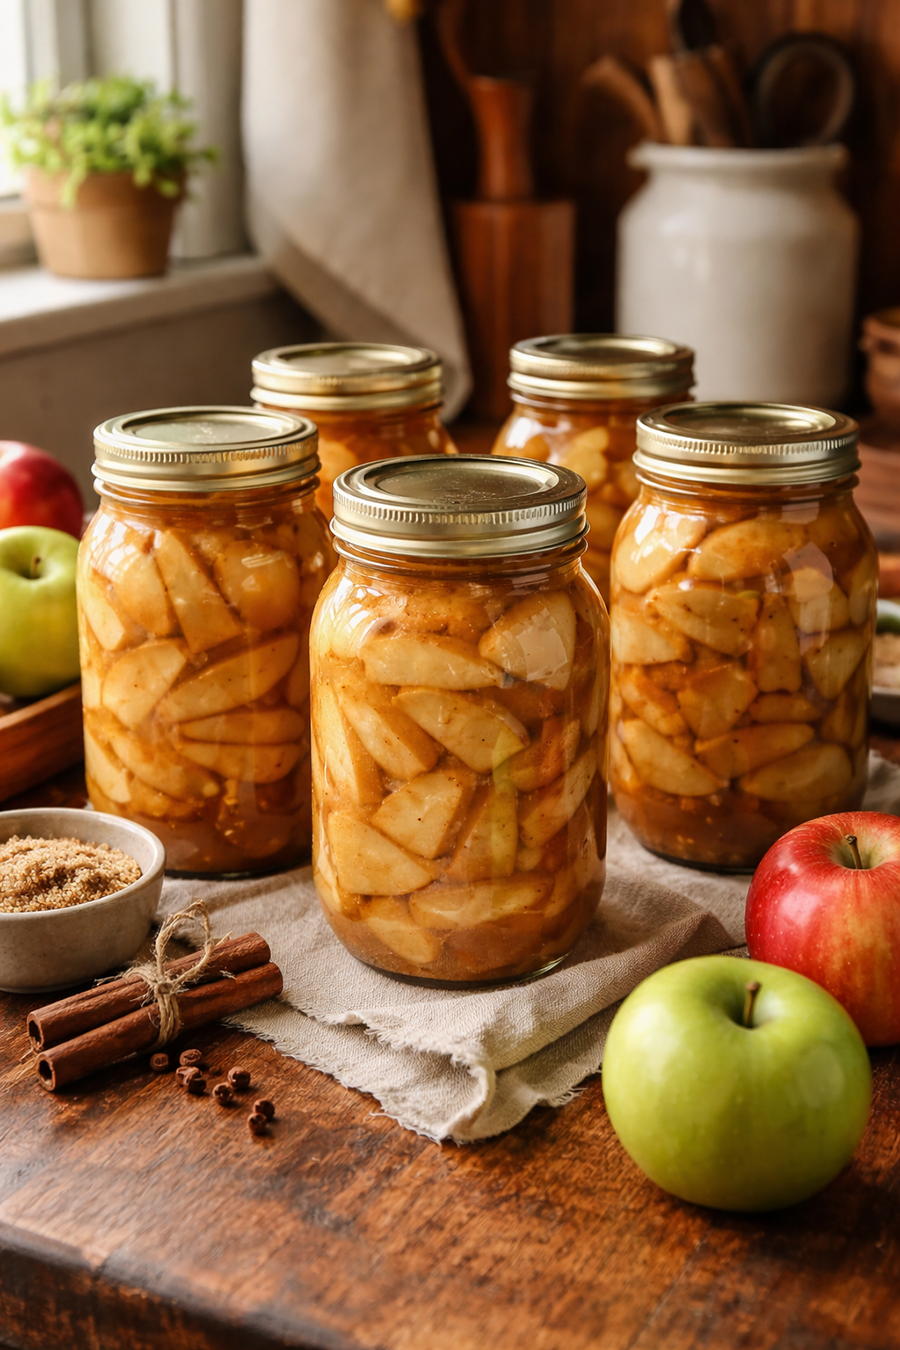
How to Preserve It
Freezing (Best for Simplicity)
Let the filling cool completely.
Pack into freezer containers or bags, leaving headspace.
Freeze.
Shortcut option:
Skip cooking entirely. Toss raw apple slices with lemon juice and spices, then freeze flat. Cook when ready to use.
Canning (Water Bath)
Ladle hot filling into sterilized jars, leaving ½ inch headspace.
Remove air bubbles, wipe rims, apply lids.
Process:
Pints — 20 minutes
Quarts — 25 minutes
How to Thicken (When You’re Ready to Use It)
Do not thicken before canning.
When you’re ready to use your apples:
Drain a little liquid if needed
Add 1–2 tablespoons per quart: flour, tapioca starch, or arrowroot
Heat until thickened
This keeps the texture clean and avoids that heavy, gelled consistency.
Choosing the Right Apples
This matters more than anything else.
Use firm apples that hold their shape:
Granny Smith
Honeycrisp
Pink Lady
Mixing sweet and tart apples gives the best flavor.
Avoid soft apples like Red Delicious—they break down too much.
A Practical Note
You don’t need to decide ahead of time what this will become.
That’s the point.
Make a batch. Put it away. Let it be ready when you need it—whether that turns into a pie, a quick side, or just a bowl of warm apples on an ordinary day.