Teach the children well. They are our future.
Teach the children well. They are our future.
Welcome to our homeschool journey!
How to use this page
When you see a lesson that you’d like to explore, click on the image. A new page will open that will give you more information and a download link that contains lots of material for teaching the concept.
Before you scroll, take a quiet moment to watch the video below. It’s a small window into what homeschooling means to us—not just books and lessons, but a way of walking through life together with wonder, courage, and trust.
At The Once and Future Homestead, we believe learning begins with love—love of family, of truth, of quiet moments, and of the One who authored every page of our story. Homeschooling isn’t just an educational choice; it’s a lifestyle of discipleship, discovery, and delight.
You won’t find perfection here. You’ll find slow days and silly questions. Muddy boots and bedtime read-alouds. Kitchen table science and middle-of-math tears. And through it all, you’ll find the same gentle rhythm: turning the page, together.
Whether you’re just beginning or looking for fresh inspiration, I hope you’ll find rest, encouragement, and a few ideas here to carry into your own homeschool days.
Welcome, friend. Let’s begin this chapter together.
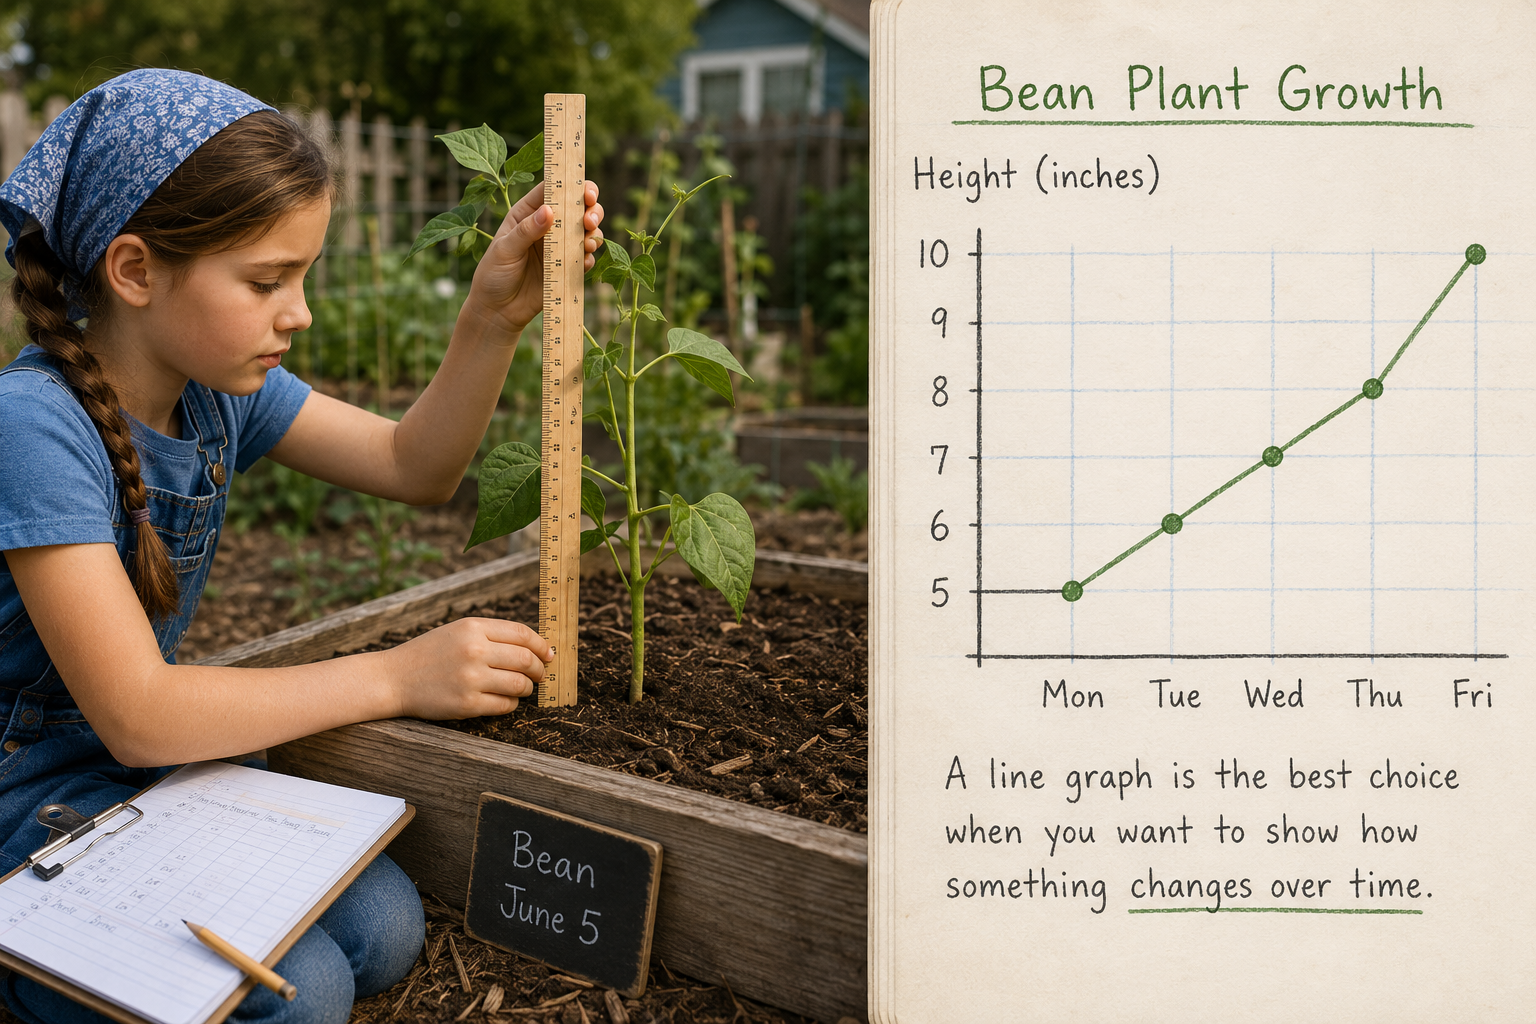
Graphing God’s Growing World
Homestead Math Lesson
Ages: 8–12
Time: Five lessons (30–45 minutes each)
Subjects: Math, Science, Nature Study,
Record Keeping
Big Idea
Homesteaders don't guess—they observe,
measure, record, and learn from patterns.
Graphs help us see what God is doing in the garden and around the home.
Learning Objectives
Students will:
• Collect real-world data
• Organize information into tables
• Create bar graphs, line graphs, and pictographs
• Interpret graphs and make predictions
• Practice careful observation
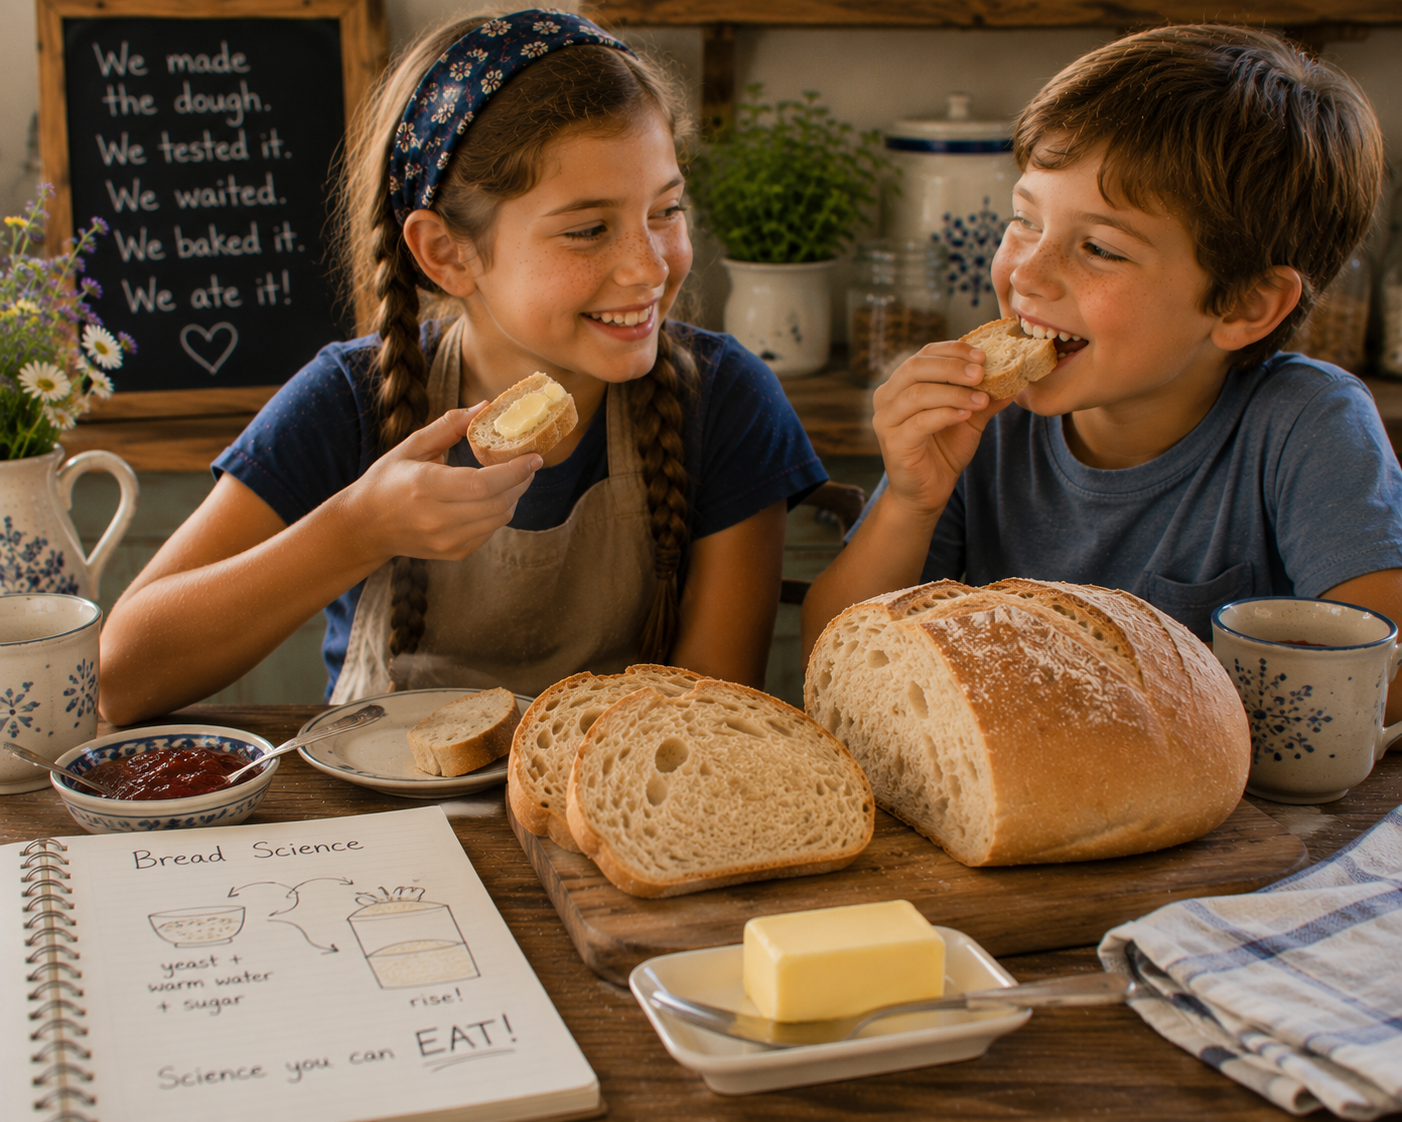
Kitchen Science: Yeast & Bread
Making bread with children looks like a cooking lesson. Flour goes into a bowl, water gets measured, yeast is added, everybody gets flour on themselves and probably the floor, and eventually there is bread.
But sitting there on the kitchen table is a laboratory.
Making bread with children looks like a cooking lesson. Flour goes into a bowl, water gets measured, yeast is added, everybody gets flour on themselves and probably the floor, and eventually there is bread.
But sitting there on the kitchen table is a laboratory.
Bread lets children watch biology and chemistry happen with their own eyes. Yeast wakes up. Sugars are consumed. Gas is produced. Proteins link together into stretchy networks. Temperature changes the speed of reactions. A soft lump of dough expands until it is nearly twice its original size, and then the heat of the oven transforms it again.
And at the end of the science lesson, you get to put butter on it.
That may be my favorite kind of curriculum.
Meet the Yeast
Yeast is alive.
The little granules in a packet or jar don't look particularly lively, but baker's yeast is made up of microscopic, single-celled fungi. When yeast is dry and cool, its activity slows dramatically. Give it moisture and suitable warmth, and it becomes active again.
You can see evidence of that activity before you ever make the dough. Put warm water into a clear glass or jar, add yeast and a little sugar, and watch. Before long, tiny bubbles begin to appear. Given enough time, a foamy layer may form across the top.
Don't tell the children what is happening just yet. Ask them.
What do you think those bubbles are?
Let them look. Let them smell it. Let them make guesses. Write the guesses down if you want to come back to them later.
Those bubbles are carbon dioxide. As yeast obtains energy from sugars through fermentation, it produces carbon dioxide and ethanol. We can't see an individual yeast cell doing its work, but we can see the results of millions of them working together.
Already, that little glass on the kitchen table has given us a biology lesson.
Where Does the Gas Go?
Watching yeast bubble in a glass is interesting. Watching it lift an entire bowl of dough is even better.
When flour and water are mixed, proteins in wheat flour begin interacting. Two of those proteins, gliadin and glutenin, combine to help form the stretchy network we call gluten. Mixing, kneading, and time help that network develop.
Children can feel the difference themselves. At first, bread dough may be shaggy, sticky, and prone to tearing. As the gluten develops, the dough becomes smoother, stronger, and more elastic. Pull a small piece of well-developed dough gently between your fingers and it may stretch thin enough for light to pass through before it tears. Bakers call this the windowpane test.
Meanwhile, the yeast is still at work.
Carbon dioxide produced by the yeast becomes trapped in tiny pockets within the stretchy dough. As those pockets fill and expand, the whole mass of dough grows larger.
That's what we're watching when bread rises.
The yeast isn't pushing the bread upward. It is producing gas, and the structure of the dough is trapping much of that gas inside.
A bowl of bread dough has now given us biology, chemistry, and a little physics—and we haven't even turned on the oven.
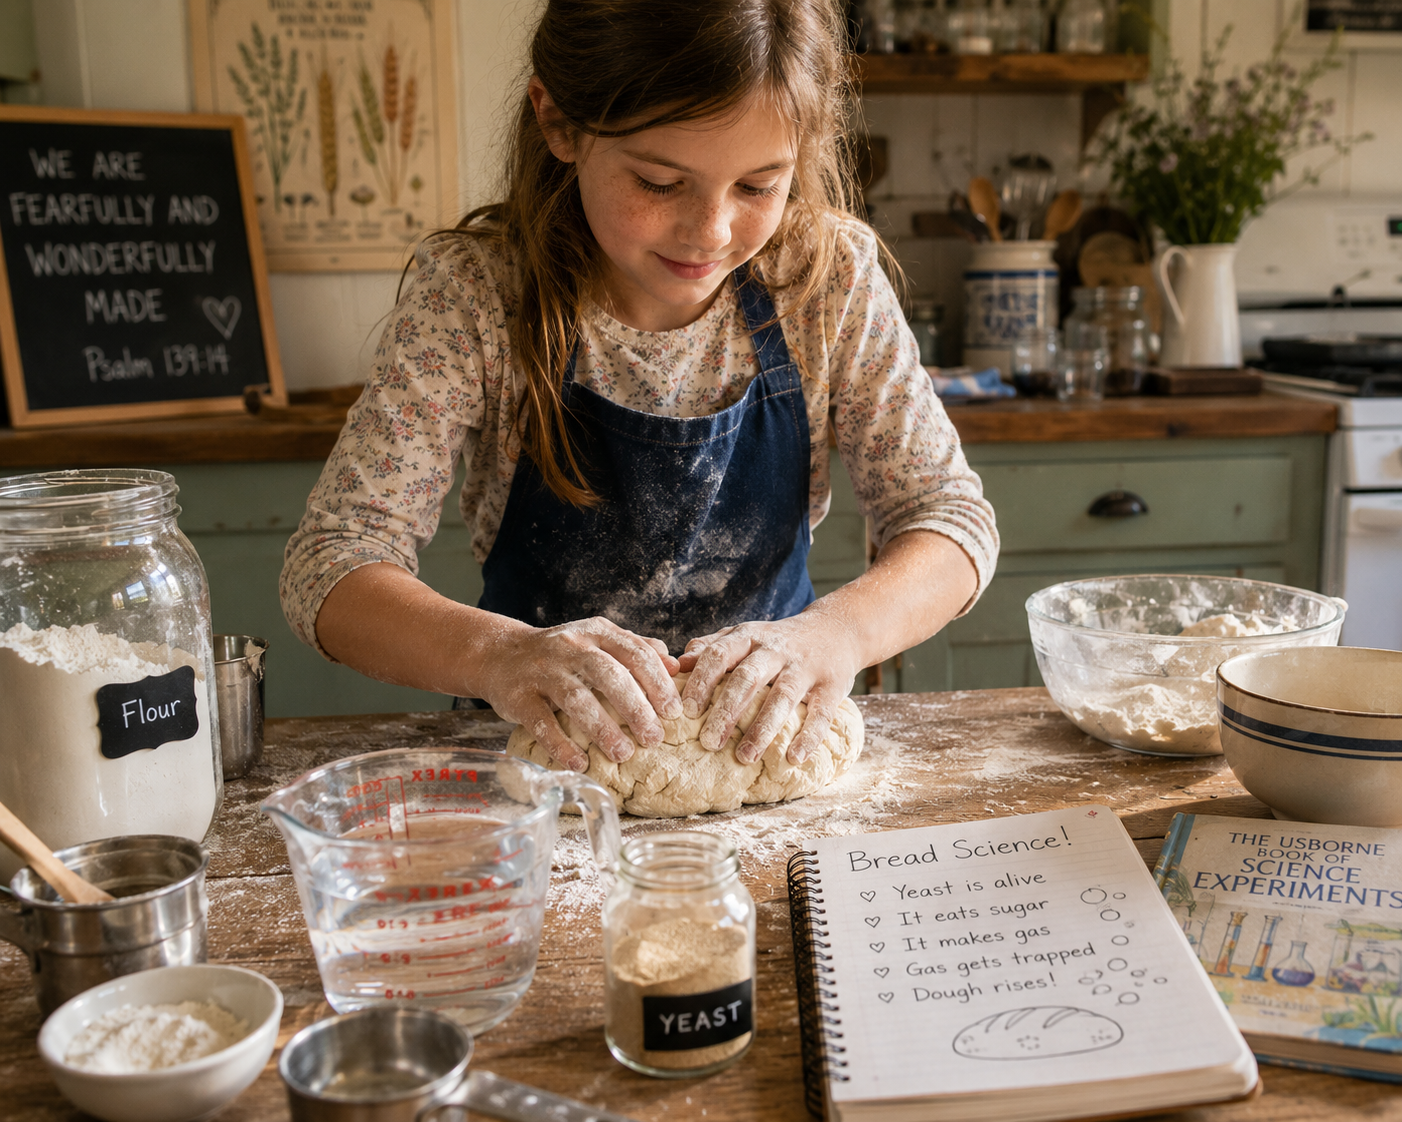
Turn the Bread Into an Experiment
You don't need a science kit for this lesson. Use the yeast, flour, glasses, measuring spoons, thermometer if you have one, and other ingredients already in your kitchen.
The most important part isn't the equipment. It's learning to ask a question and then changing one thing at a time to find the answer.
Temperature is an easy place to begin. Put equal amounts of yeast into three clear glasses. Add the same amount of sugar to each and the same amount of water, but change the water temperature. Make one cool, one comfortably warm, and one hot.
Before adding the yeast, ask everyone to predict what will happen. Which glass will show activity first? Will they all behave alike? Will hot water make the yeast work fastest?
Write down the predictions and then watch.
The cool-water yeast should work more slowly. Yeast in appropriately warm water should become active more quickly. Water that is hot enough can damage or kill the yeast, leaving little or no activity to observe.
That last glass teaches a particularly useful scientific lesson. A child may reason that if warmth makes yeast more active, then hotter water ought to make it even more active.
It sounds perfectly sensible.
And it can be wrong.
That's why we experiment.
What Does Yeast Eat?
Temperature is only one variable you can investigate. On another bread-making day, you might compare yeast in plain warm water with yeast in warm water containing a little sugar. Older children may want to compare different amounts of sugar or investigate what happens when salt is introduced.
You could keep going until every drinking glass in the house contains a mysterious bubbling substance, but I wouldn't.
One question is enough.
A younger child can draw pictures of two glasses and show which one produced more bubbles. An older child can measure the height of the foam at regular intervals, record the results in a table, and turn the measurements into a graph. Another child might write a paragraph explaining why the results did or did not support the original hypothesis.
Same experiment. Different levels of learning.
That's one of the beauties of teaching several ages around the same kitchen table. The subject doesn't have to change just because the children are at different stages.
The Dough Has More to Teach Us
Once the experiment becomes an actual loaf of bread, the questions don't have to stop.
Why do we knead dough? What happens if we don't knead it enough? Why do we cover dough while it rises? Why does dough usually rise faster in a warm kitchen than in a cold one? What does salt do? Why does the dough become puffier instead of simply filling with visible bubbles?
Children can investigate some of those questions instead of simply hearing the answers.
Before kneading the main batch, pinch off a small piece of dough. Leave that piece alone while the rest is kneaded. Later, compare them. Stretch both pieces. How do they feel? Which one stretches farther? Which tears more easily?
Now gluten isn't just a vocabulary word in a science book. They have felt the difference with their own hands.
That matters.
Then Comes the Oven
Putting the loaf into the oven starts another series of changes.
For a short time, the loaf may rise rapidly as gases already inside the dough expand and yeast activity briefly accelerates. Bakers call this oven spring. As the internal temperature continues to climb, the yeast dies and fermentation stops.
The bread's structure begins to set. Starches absorb water and gelatinize, proteins firm, moisture evaporates, and the soft dough gradually becomes a loaf that can hold its shape.
Then the crust begins to brown.
That browning isn't simply the bread "getting toasted." Heat drives reactions between sugars and amino acids in the surface of the dough, including what is known as the Maillard reaction. Those reactions create new flavors, aromas, and colors.
Which proves that science can smell absolutely wonderful.
Ask the children to compare the dough before and after baking. The ingredients are still there, but they have been transformed. The texture, smell, taste, color, structure, and moisture have all changed.
And unlike many laboratory specimens, this one is excellent with butter.
Don't Explain Everything
This may be the hardest part of teaching science this way.
When we know the answer, we want to tell it.
A child asks, "Why did that one rise more?" and the explanation is right there on the tip of our tongue.
Try asking, "What do you think?"
Let the child look again. What was different between the two samples? What was the same? What did we predict before we began? Does what we observed agree with our prediction?
And let children be wrong.
A wrong prediction followed by an observable result is not a failed lesson. It may be one of the most useful things that can happen in science. A child discovers that an idea can sound completely reasonable and still need to be tested against what actually happens.
We aren't merely teaching children a collection of scientific facts. We're teaching them how to ask questions, observe carefully, compare results, revise their thinking, and find out.
Those habits will serve them long after they have forgotten the word gliadin.
Follow the Questions
Bread has a way of wandering into other subjects before anyone notices.
Measuring ingredients brings in fractions, multiplication, volume, and weight. Doubling or halving a recipe adds another layer of math. Recording yeast activity introduces tables and graphs. Writing observations becomes language arts.
Then someone asks who first figured out that letting dough sit around until it bubbled made better bread, and suddenly we're in history. How did ancient people make leavened bread without little packets of commercial yeast? What is sourdough starter? Why were bread and grain so important to ancient civilizations? How was grain ground before electric mills?
Follow those questions.
You don't need to turn every loaf into a unit study. Sometimes bread should simply be bread. But when genuine curiosity appears, don't be too quick to steer everyone back toward the lesson you planned.
The unexpected question may be the lesson.
And Then Eat the Evidence
This is one of the things I have always loved about learning at home. Subjects refuse to stay politely inside their assigned boxes.
The kitchen doesn't know that science is supposed to happen during science time and math during math time. Real life mixes them all together.
A child weighs flour, divides a recipe, watches a living organism metabolize sugars, observes gas becoming trapped in an elastic protein network, records measurements, smells chemical reactions taking place in an oven, learns a little history—and then sits down with the family and eats the experiment for supper.
No worksheet could make that more real.
So the next time you're making bread, pull out an extra glass or two. Ask a question. Change one variable. Make a prediction. Watch the bubbles. Feel the dough change beneath your hands. Notice what happens in the oven.
Then cut the loaf while it's still just warm enough to melt the butter.
The kitchen table is already a science lab.
And this experiment tastes very good.
Now download the lesson for your child!
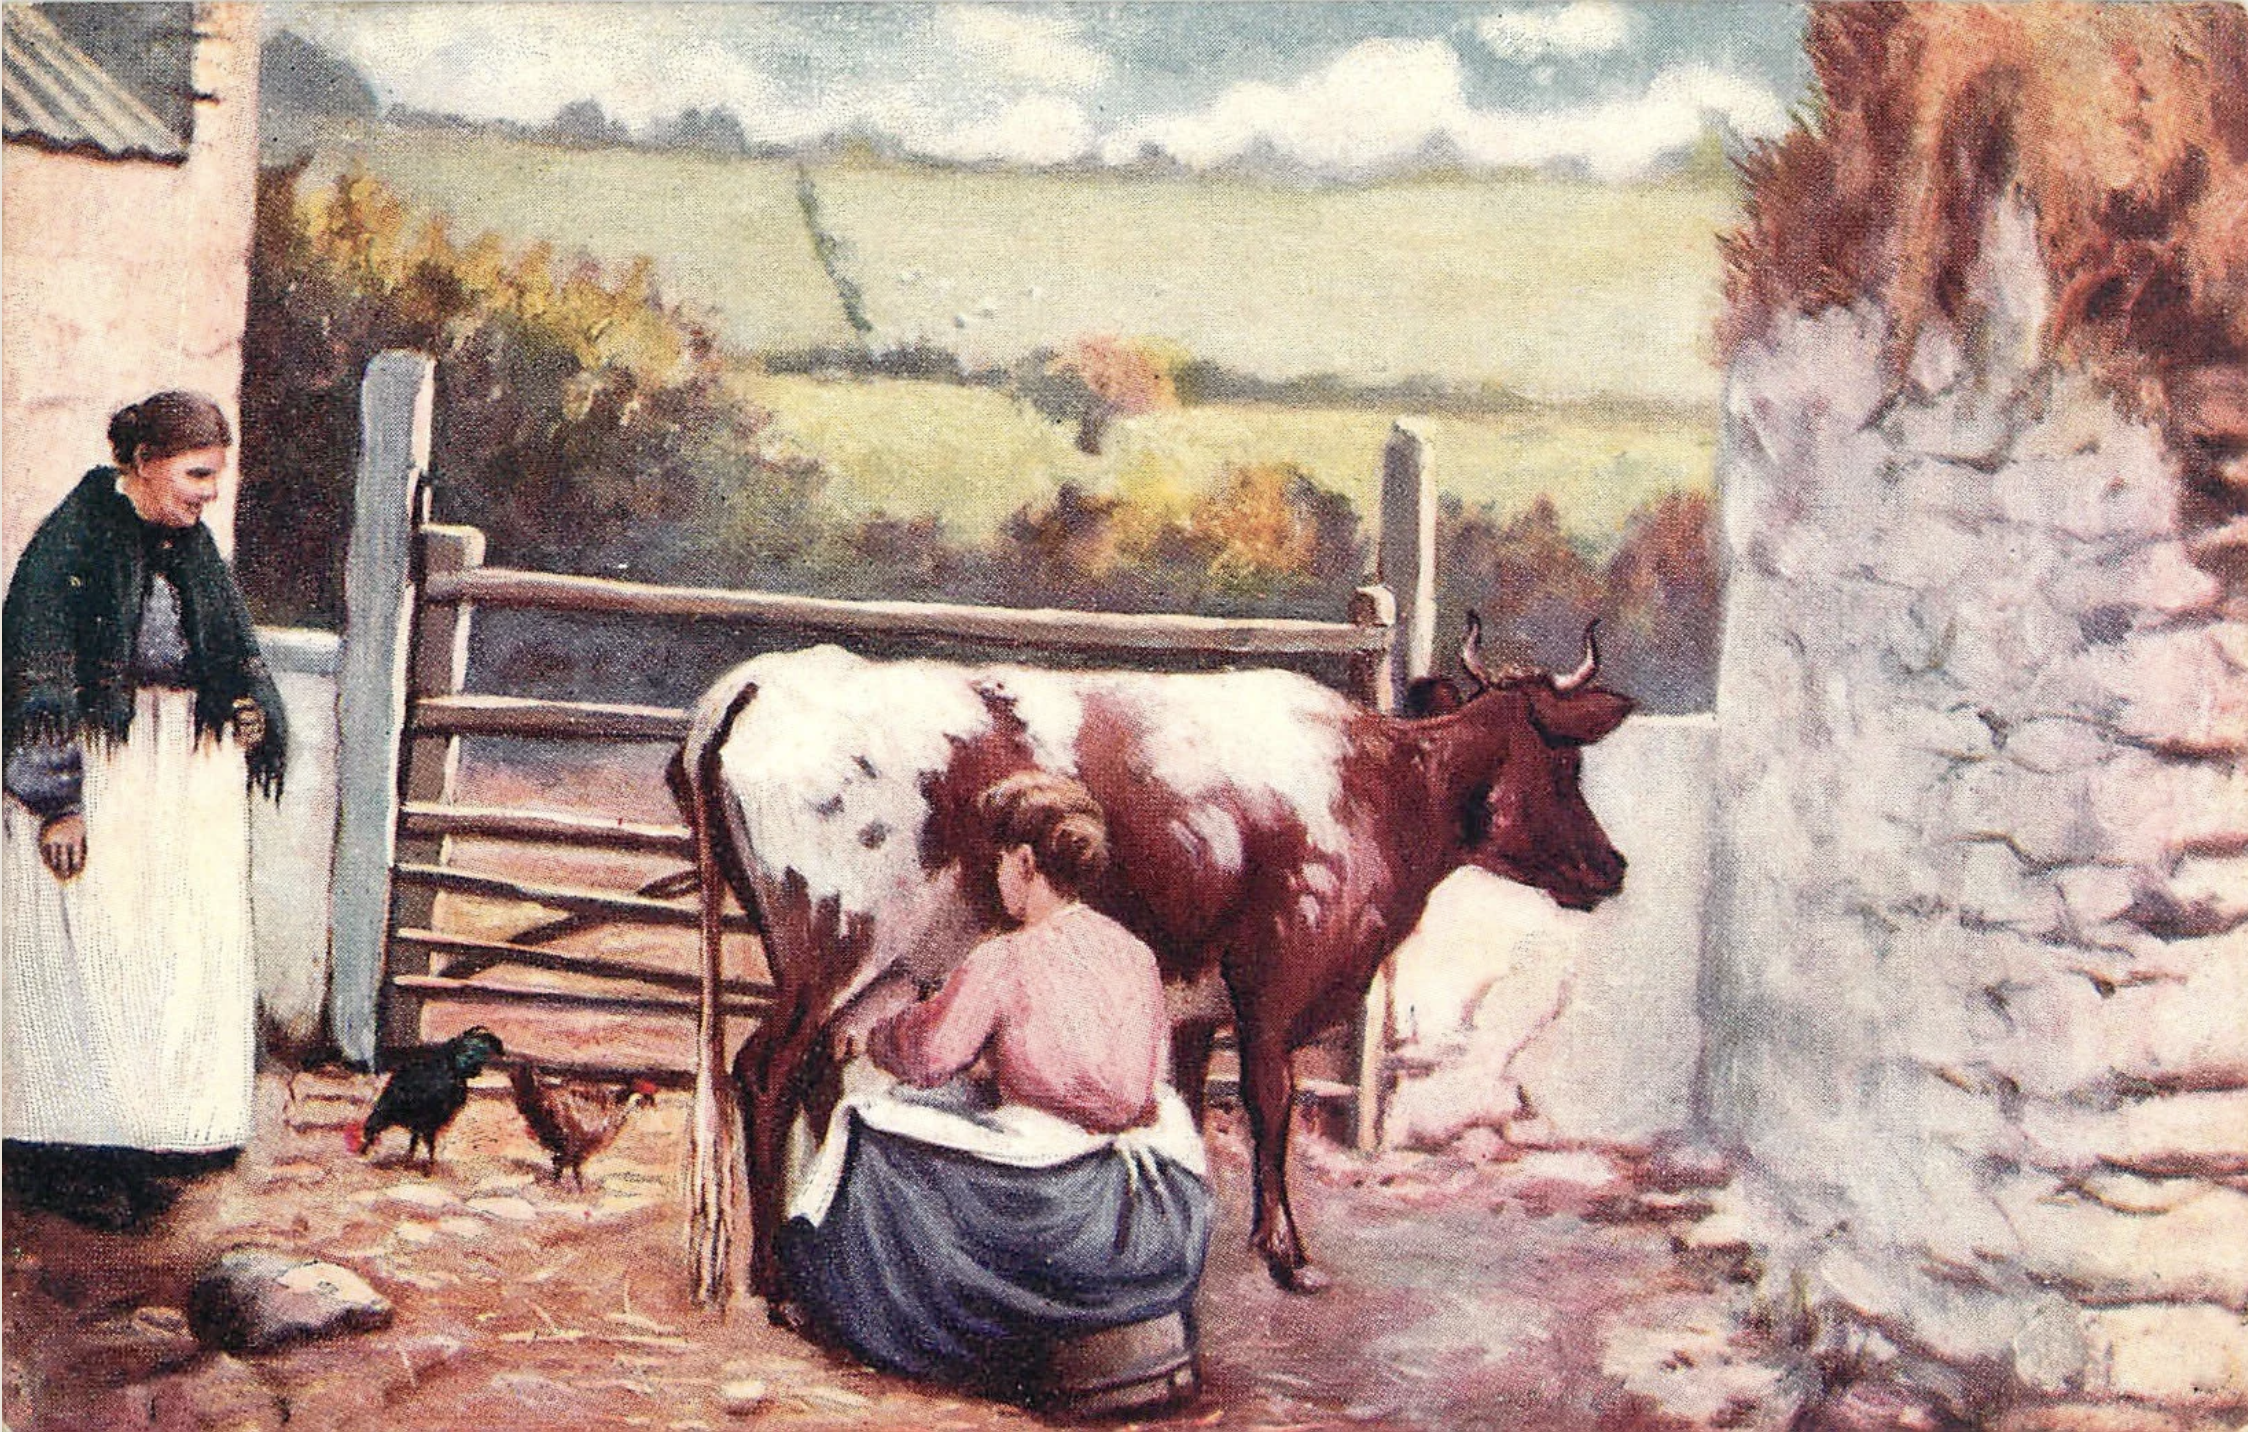
Homestead Butter-Making
We’re going to make real butter—just like kids did in the old days on the farm! This fun lesson will teach us where butter comes from, how it’s made, and how important it has been throughout history.
A joyful homeschool lesson for ages 6–8 using fresh cream
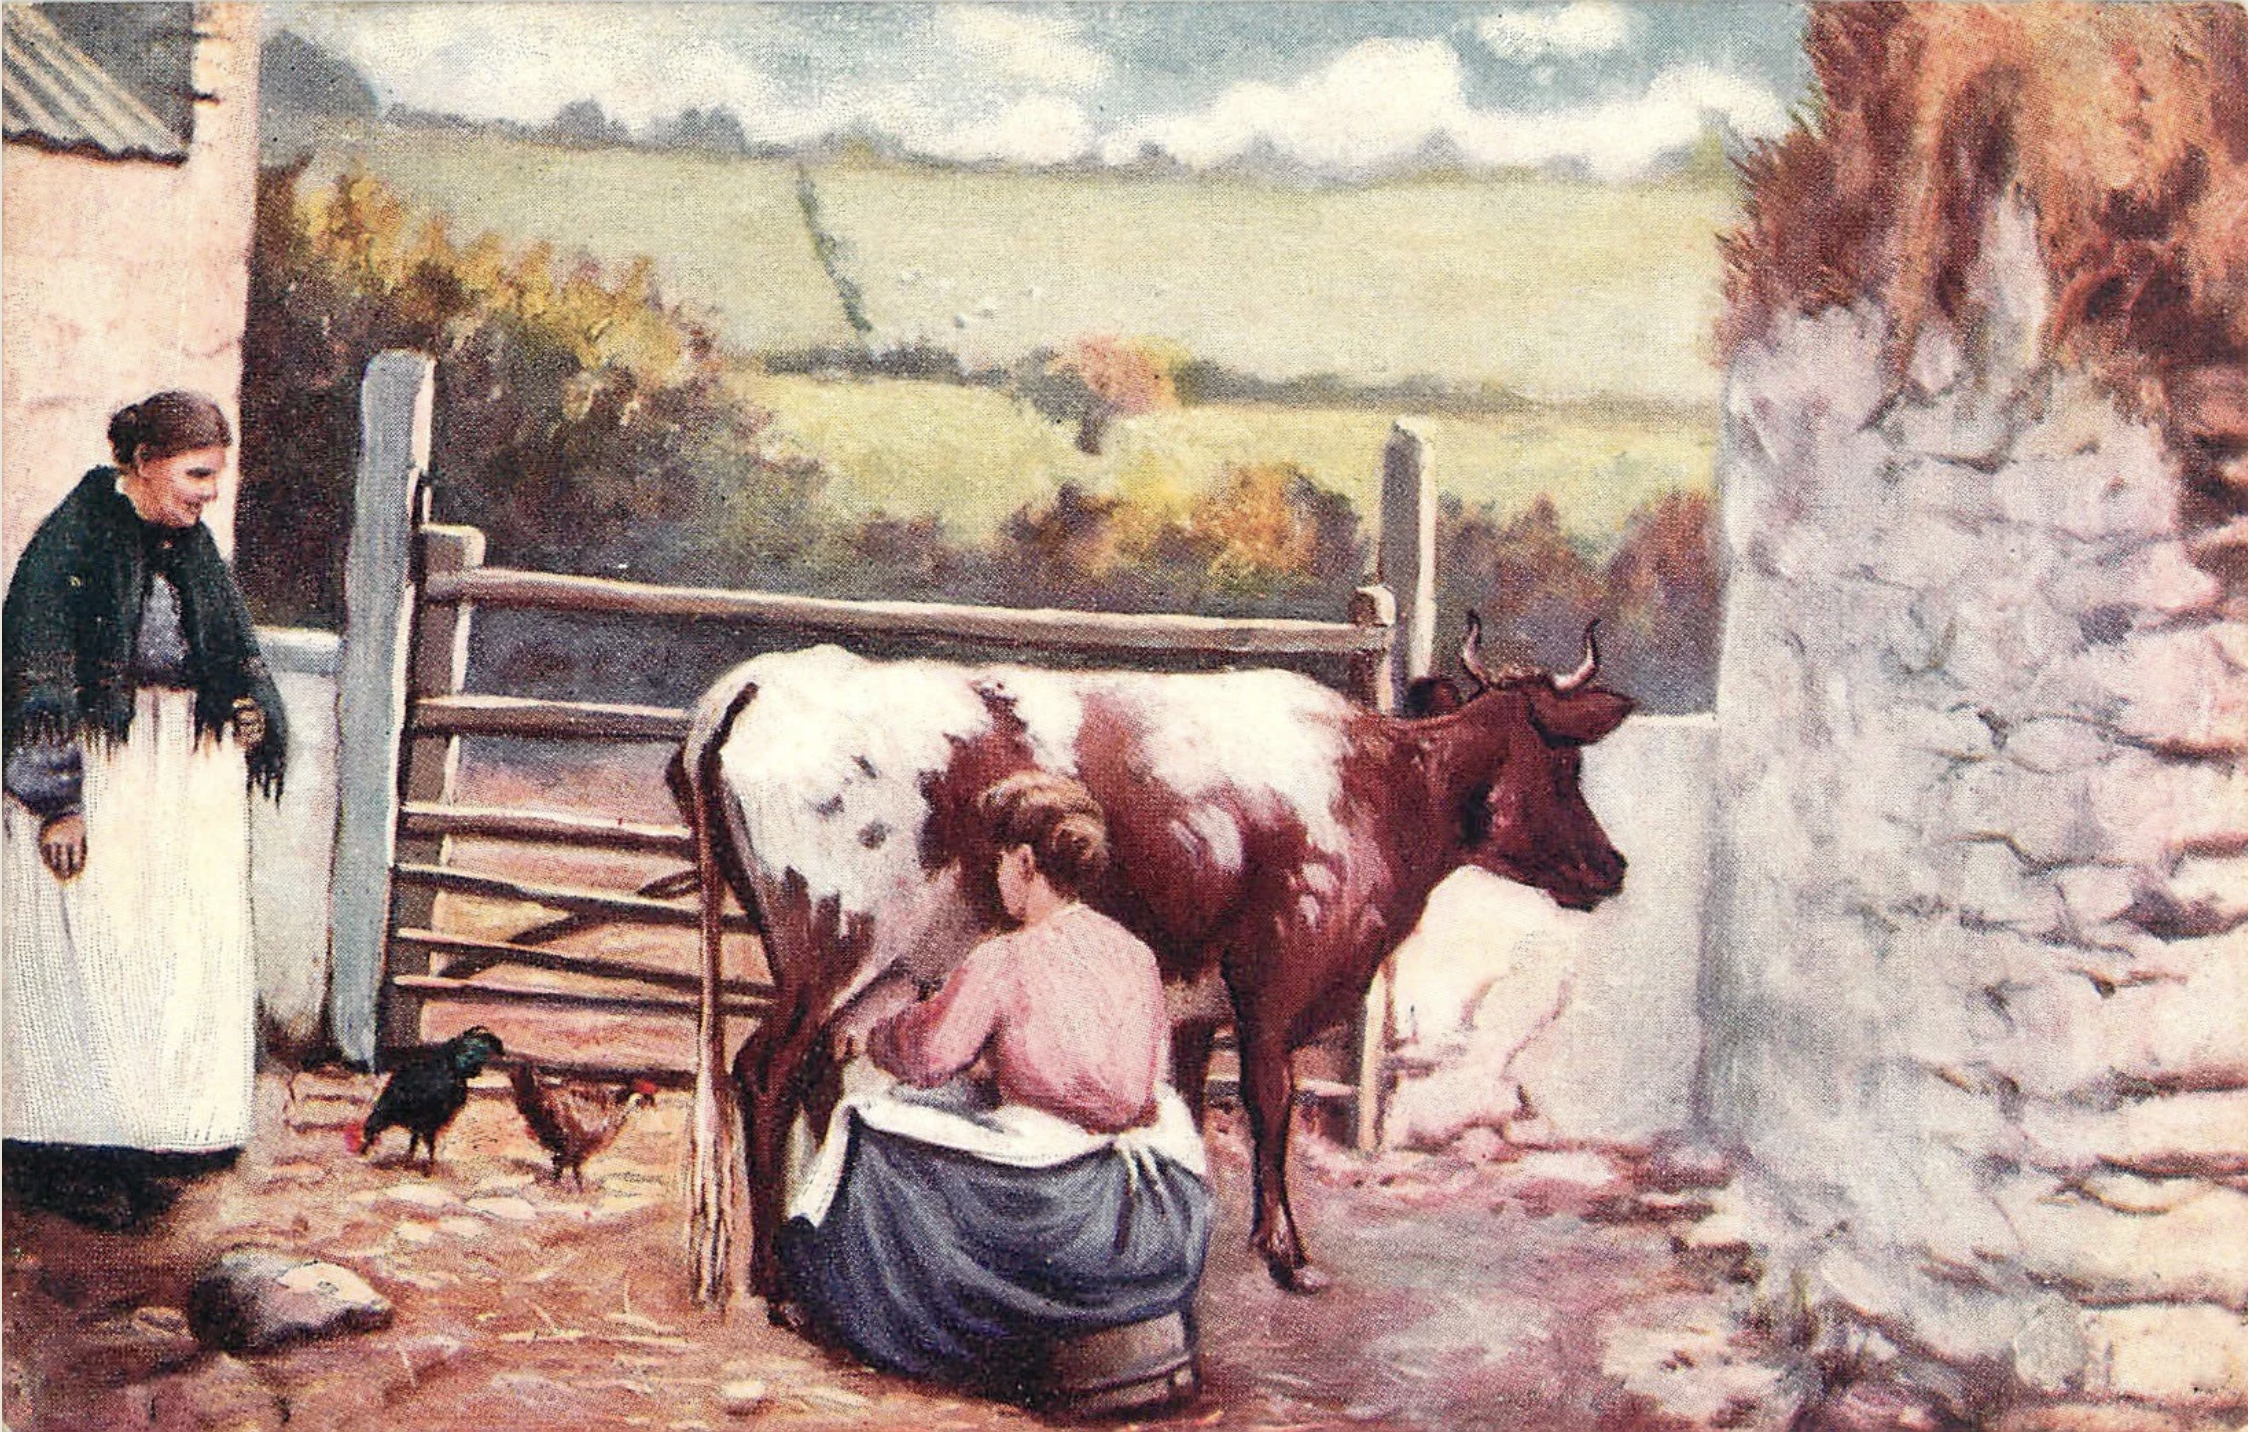
We’re going to make real butter—just like kids did in the old days on the farm! This fun lesson will teach us where butter comes from, how it’s made, and how important it has been throughout history.
What You’ll Need:
• A pint or quart of fresh cream (raw is best!)
• A clean glass jar with a tight lid (like a mason jar)
• A bowl and spoon
• Optional: a clean marble or bead to speed up the shaking
• Cold water and a little salt (if you want to salt your butter)
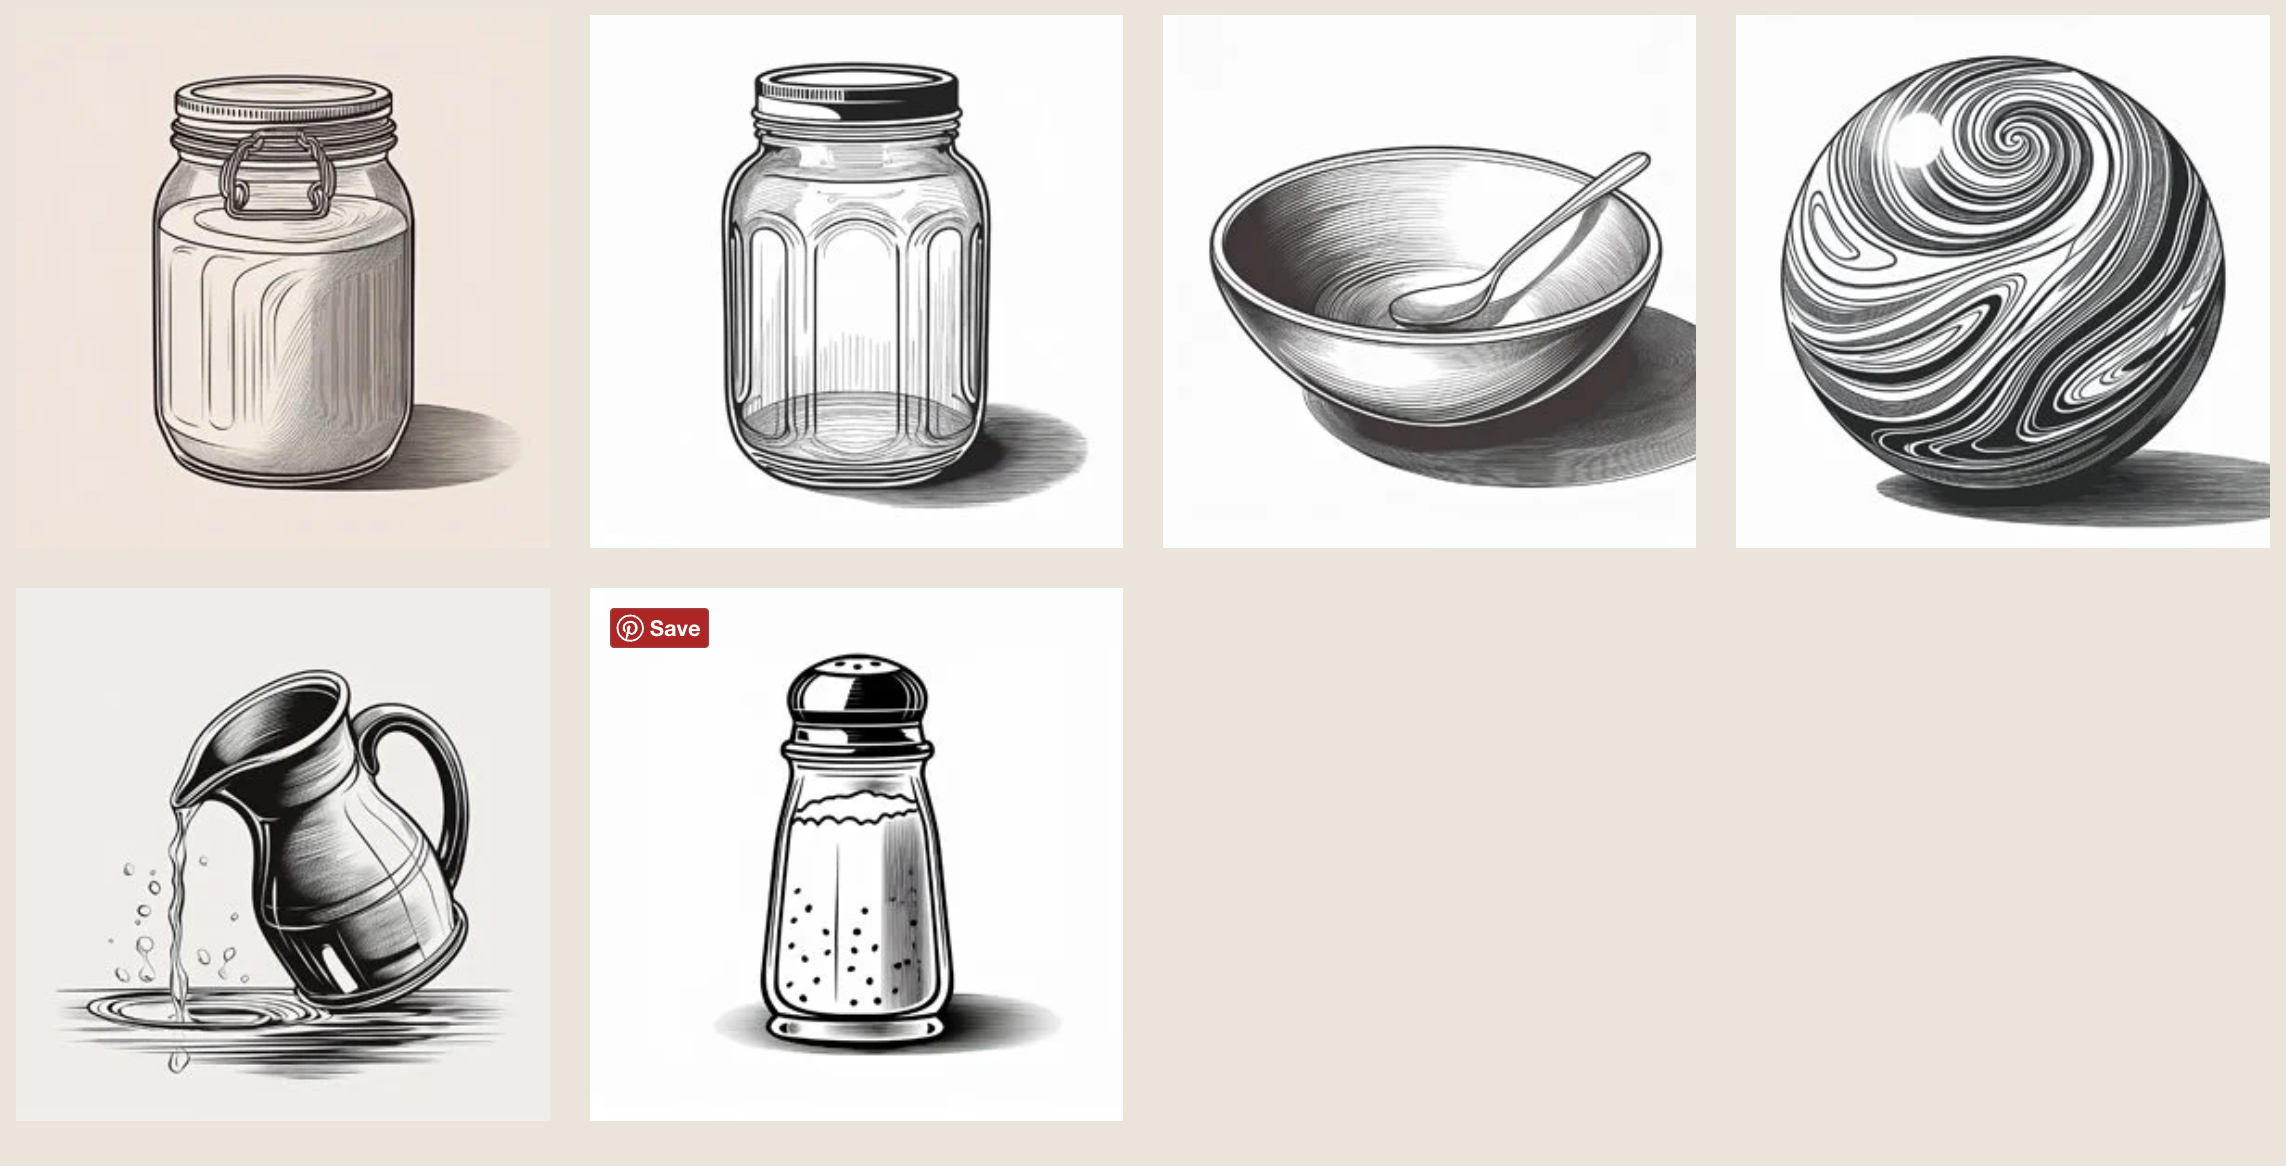
Let’s Make Butter!
1. Pour your fresh cream into the jar (fill it halfway).
2. Drop in the marble (if using) and screw the lid on tight.
3. Shake it up! Dance around and have fun while shaking. It may take 5–10 minutes.
4. First, it turns to whipped cream—keep going!
5. A soft lump forms and separates from the liquid. That’s your butter!
6. Pour off the buttermilk (but taste it first!) and save it for biscuits or pancakes.
7. Rinse your butter lump with cold water, then pat it dry.
8. Add a pinch of salt if you’d like, and pack it into a dish.
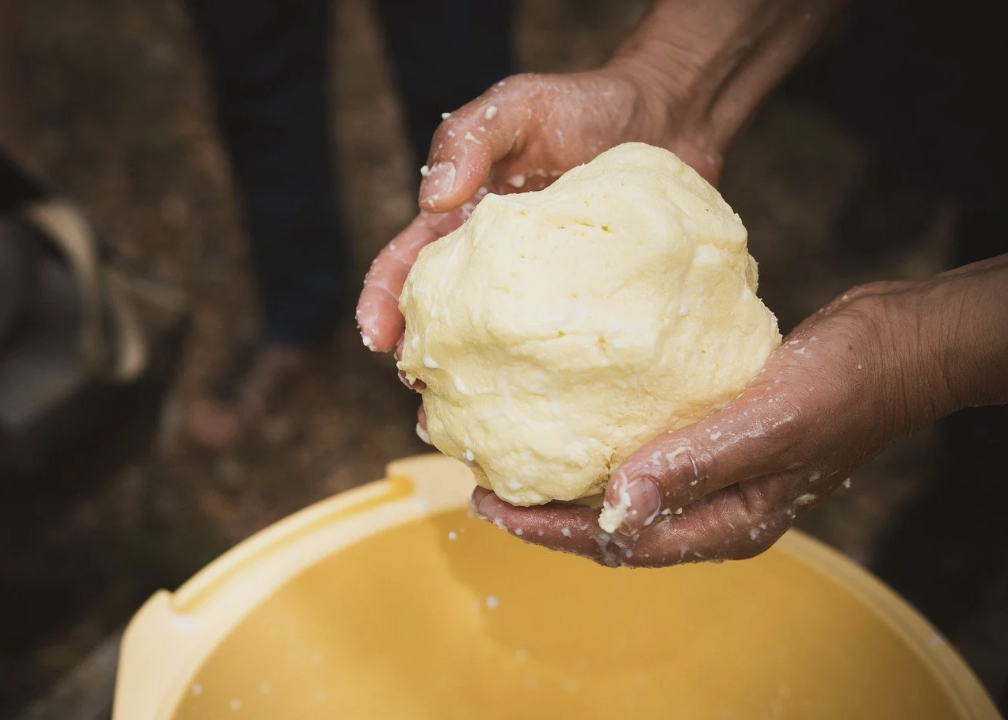
SCIENCE: What’s Happening in the Jar?
Cream is full of little fat globules. When you shake it, those tiny fat pieces bump together and start sticking. First, they turn into whipped cream—but keep shaking, and the fat clumps together into butter!
You’ll also see a milky liquid separate out—that’s called buttermilk, and it’s great for baking.
The History of Butter Churns
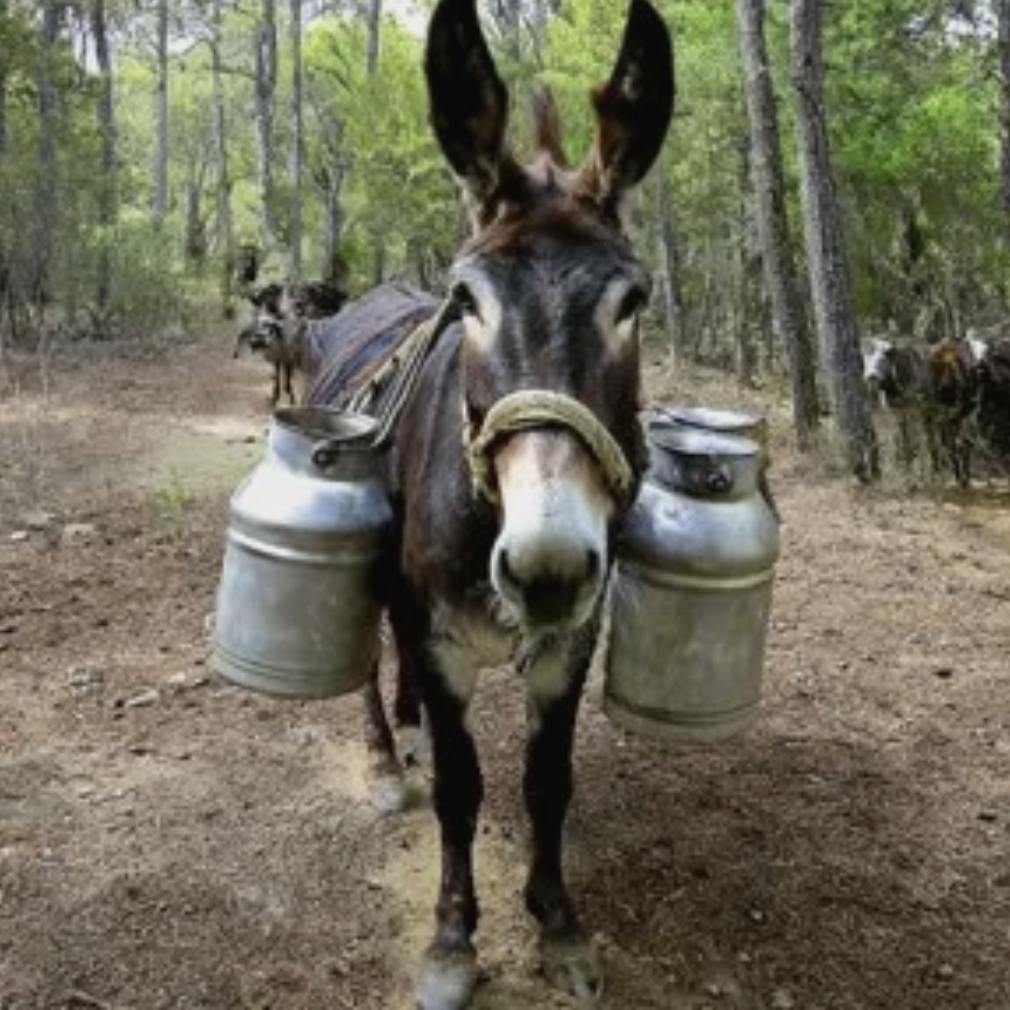
Long ago, people used animal skin bags to make butter. They tied the bags (and later milk cans) to donkeys or wagons, and the jostling from travel would churn the cream into butter. No hands required—just a bumpy ride!
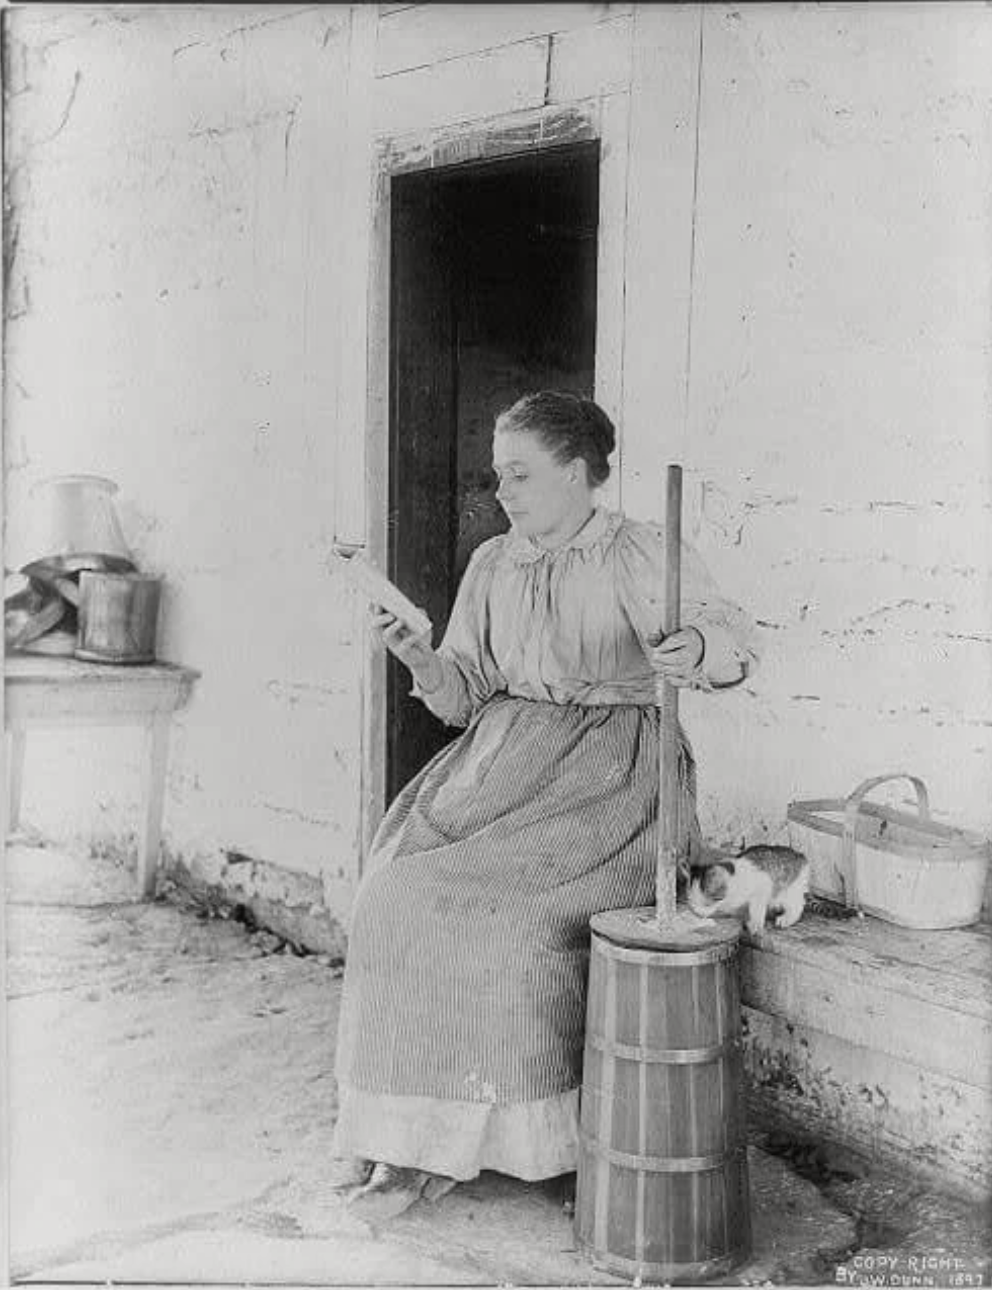
Later, wooden churns became popular. These were tall barrels with a stick (called a dasher) inside.
You would move the stick up and down to agitate the cream. It took time and muscle!
Next came tabletop churns with cranks. These churns had paddles inside and were easier to use.
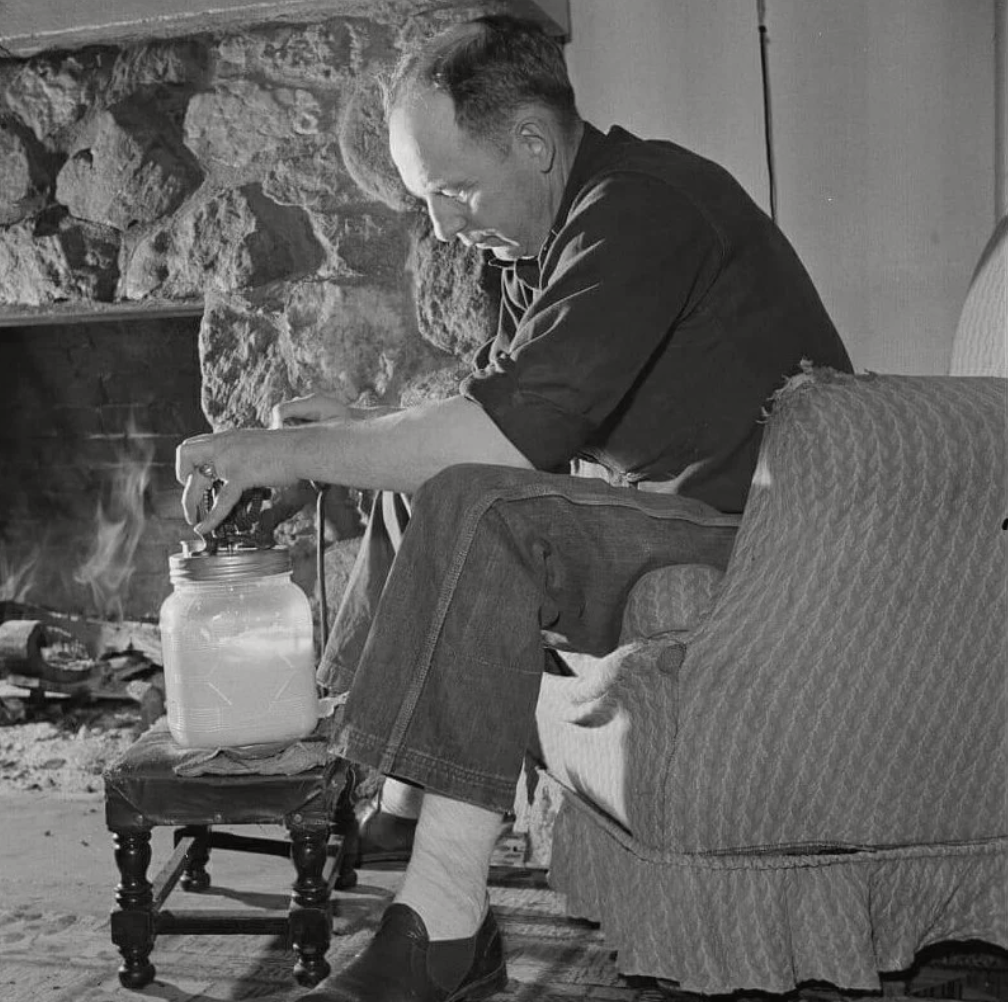
Families could sit down at the table, turn the handle, and watch the butter come together.
Today, we can make butter in a glass jar just by shaking it—or even use electric mixers.
But here’s the fun part: No matter what churn you use, the process stays the same. You keep the cream moving until the fat clumps together and forms butter!
That’s the secret of butter-making: shake, churn, stir, or mix—movement is the magic.
READING TIME
Butter in a Jar
by Suzi Wollman
I pour the cream and close it tight,
I shake with all my strength and might!
Around and ’round, I dance and spin—
A golden lump is found within!
The cream gets thick, it starts to whip,
It sloshes on my fingertips.
Then suddenly, the magic’s clear—
The butter’s soft and smooth and near!
I rinse it off and pat it dry,
I spread it on some toast nearby.
From cow to cream to butter bright—
I made it fresh, and took a bite!
Think About It
What surprised you?
Did the butter come together fast or slow?
What was the buttermilk like?
WRITING IDEAS
Pick one or more writing prompts:
• “My Butter-Making Day” – Tell the story of what happened, step by step. (See the download below)
• Butter Journal Page – Draw each stage of the process and label it.
• Butter Recipe Card – Create a homemade recipe card with steps and decorations.
CRAFT CORNER
1. Decorate a Butter Dish
Use markers, stickers, or paint to decorate a container to keep your fresh butter in the fridge. Rectangular glass containers with lids work well.
2. Make a Farm-to-Butter Wheel
Draw four stages on a circle:
Cow → Cream → Shake! → Butter
Attach an arrow with a brad to spin around and point to each step. (See download below.)
3. Old-Fashioned Butter Paddles
Decorate two wooden spoons with stickers, markers, or paint. These resemble the paddles used to make butter in the churns with cranks.
Wrap-Up
Butter isn’t just something that comes in a package—it’s made by hand, from the land, and with a little effort and fun. Making your own butter is a delicious way to learn about real food and the work behind it. Save your butter journal page and start a homemade recipe collection. You’re becoming quite the homestead chef!

A Year of Feast-Based Homeschooling: Teaching Through the Moedim
Each year, the rhythm of God’s appointed times gently calls us back to Him. The Hebrew word "moedim" means "appointed times," and these Feasts of the Lord offer a sacred structure for worship, remembrance, and joyful celebration. For Messianic families and homesteaders like ours, they also provide a beautiful framework for homeschooling.
Instead of following only the traditional September-to-May academic calendar, why not let the biblical calendar lead your learning year? With each feast, your children can explore history, Scripture, science, art, music, and more. In this post, I’ll walk you through how to homeschool through the moedim and suggest fun, faith-centered ways to make each feast part of your family’s educational journey.It All Begins Here
Each year, the rhythm of God’s appointed times gently calls us back to Him. The Hebrew word "moedim" means "appointed times," and these Feasts of the Lord offer a sacred structure for worship, remembrance, and joyful celebration. For Messianic families and homesteaders like ours, they also provide a beautiful framework for homeschooling.
Instead of following only the traditional September-to-May academic calendar, why not let the biblical calendar lead your learning year? With each feast, your children can explore history, Scripture, science, art, music, and more. In this post, I’ll walk you through how to homeschool through the moedim and suggest fun, faith-centered ways to make each feast part of your family’s educational journey.


Raising Messianic Kids in a Post-Modern World
It All Begins HereRaising children has never been simple—but raising Messianic children in today’s world means navigating a landscape filled with competing stories about identity, purpose, and truth. In a culture that often prioritizes convenience, self-expression, and immediate fulfillment, families who choose a covenant-centered life are, in many ways, stepping into a quieter, countercultural way of being.

Raising children has never been simple—but raising Messianic children in today’s world means navigating a landscape filled with competing stories about identity, purpose, and truth. In a culture that often prioritizes convenience, self-expression, and immediate fulfillment, families who choose a covenant-centered life are, in many ways, stepping into a quieter, countercultural way of being.
Rather than assuming our children will inherit a clear sense of who they are, we recognize that identity is constantly being shaped—by media, peers, education, and the broader culture. This makes the work of formation more intentional. We are not just passing down information; we are cultivating belonging, memory, and meaning.
The Hebrew word kadosh (קָדוֹשׁ), often translated “holy” or “set apart,” carries the idea of distinction—but not isolation. It reflects a life shaped by rhythms, practices, and relationships that tell a different story about what matters. Sabbath, the feasts, and the life of Israel all embody this kind of purposeful distinction.
To raise children within this framework is to invite them into a story—one where identity is not self-invented but discovered within relationship: with God, with family, and with a people across generations. It means creating spaces where questions are welcomed, practices are lived, and meaning is formed over time.
This post offers a practical guide for Messianic parents who want to build homes where children can grow with a strong sense of identity, rooted in the rhythms of Torah and the love of Yeshua. Not perfectly, but faithfully—learning alongside their children, step by step.